At SketchJoy, the coloring page on the site goes through the same careful process, from the first idea on paper to the finished PDF you download. This page is a behind-the-scenes look at how our team puts each page together, so you know exactly what’s behind the free printables you and your kids enjoy.
The People Behind the Pages
Our coloring pages are drawn by our in-house design team. Right now, that team is Miguel Ruiz and Jenna Miller. In the past, Javier Matos and Duan Knoetze were also part of the team, and we’re grateful for the pages they helped create during their time with us.
Once a design is finished, it lands on the desk of Lauren Manley. Outside of SketchJoy, Lauren is an elementary school teacher, which makes her a perfect fit for what she does here. She prints each page herself, checks the print quality firsthand, and confirms that it’s age-appropriate for the kids it’s meant for.
Reza Navabi, our founder, works closely with Lauren on choosing topics and keeping the overall direction of the site on track. You can see our team members and their expertise on the About Us page.
Step 1: Picking the Right Topic
Choosing what to draw is one of the most important steps in the whole process. We want parents, teachers, and kids to find what they’re actually looking for when they visit, and we want them to keep coming back. To do that, we have to stay close to what people care about right now and what they’re searching for most often.
Reza and Lauren handle most of the topic research, and they pull ideas from a few different places:
- Long-running favorites. Google Keyword Planner shows us which topics parents, teachers, and kids search for the most every month. These tend to be steady all year and don’t usually depend on the season.
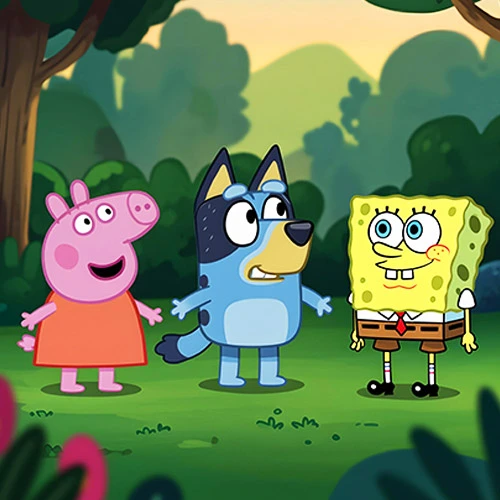
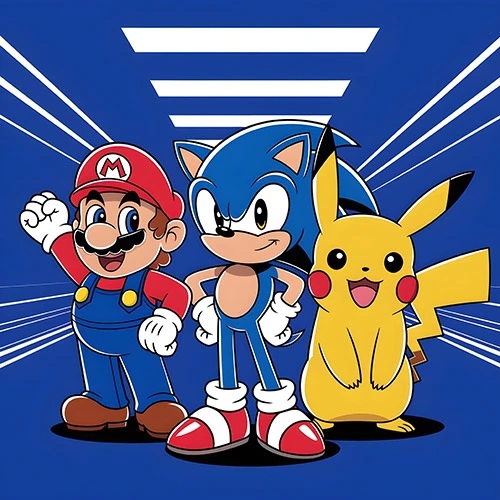
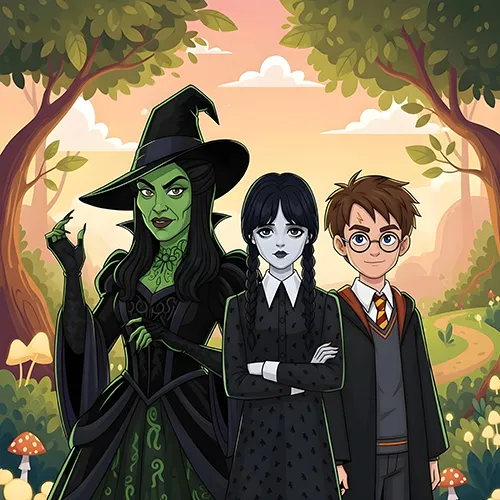
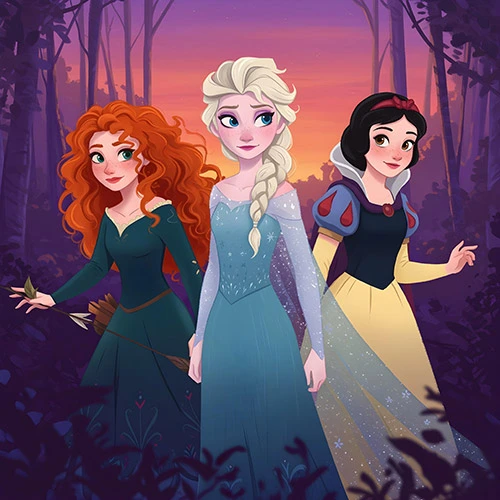
- Trending topics. Some subjects spike in popularity very quickly, often tied to a new cartoon, anime, animated film, or upcoming holiday. Google Trends helps us catch these moments early, so our design team can put together fresh pages while interest is still high.
- User requests. Visitors can use our request form to ask for specific topics, with as much detail as they like. A good number of new pages each month start out as a request from someone in our community.
- Social media and Reddit. We also follow online groups and threads where parents, teachers, and fans gather. These often surface fun, popular ideas that we wouldn’t have come up with on our own.
Once a topic is chosen, the research team puts together a short brief for the designers. It includes the characters that should appear, suggested poses, the overall mood, the setting, and any style notes worth keeping in mind.
Step 2: Sketching on Paper
With the brief in hand, the designer starts with a pencil sketch on regular paper. These early sketches stay loose. We don’t add a lot of detail at this stage because the paper sketch is just a guide for the digital version, which is where the real artwork happens.
What we focus on here is making sure the characters look close to the originals, the poses feel natural, and the small details on the page (props, background, expressions) come together to set the right mood.
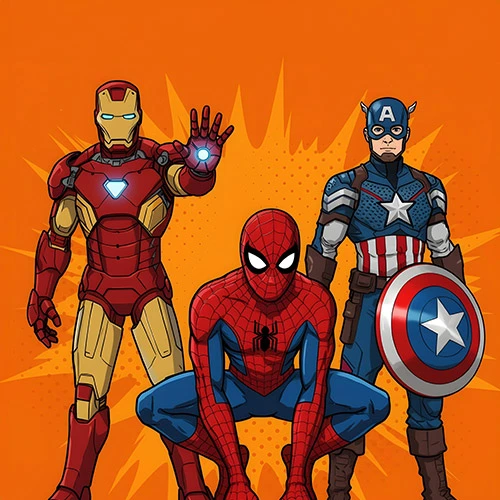
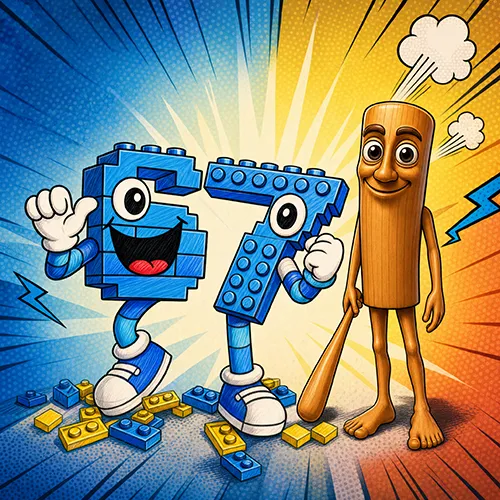
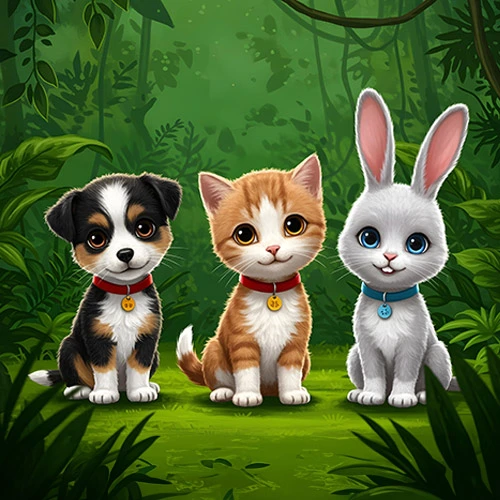
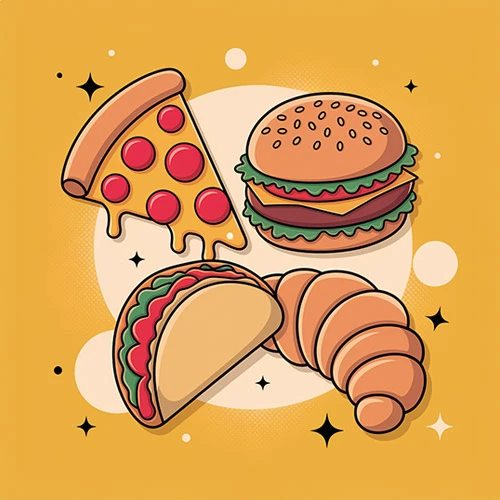
Here are a few examples of our paper sketches:


Step 3: Bringing the Sketch into Procreate on the iPad
Once a sketch looks right, we scan it and open it in Procreate on the iPad. The scanned sketch is placed on its own layer with the opacity turned way down, so it sits quietly in the background as a reference while the designer draws on top.
Our standard canvas is letter size (2550 x 4200 pixels) at 300 DPI, which gives us a clean, sharp result for both screens and print.

Step 4: Setting Up the Brush
Procreate offers a wide range of brushes for all kinds of work, but our designers usually reach for the Brush Studio brush. To get smoother lines, cleaner closed shapes, and less stray noise in the artwork, they tweak a few of the brush settings before they start.
Each designer ends up with their own small adjustments based on what feels comfortable, so the exact settings vary a little from person to person. The screenshots below show the brush setup used by one of our designers.

Step 5: Drawing with the Apple Pencil
With the brush ready, the designer starts inking the page on a fresh layer above the sketch, using the Apple Pencil. Each of our designers has a personal style, but we follow an in-house style guide that covers line weight, brush behavior, and how lines should start and end. This keeps all of our coloring pages feeling like part of the same family, even when different artists work on them.
The style guide gets small updates over time as tools improve and we learn better ways to draw certain shapes. That means older pages and newer pages aren’t always identical, but they all sit in the same overall look.
In the image below, you can see a work-in-progress drawing over the reference layer. At this point, some lines might overlap or include extra strokes. Those get cleaned up in the final step.

Step 6: Final Cleanup and Export
When the linework is finished, the designer does one last pass on the page. Extra lines get erased, line layers can be smoothed out, and proportions are adjusted if anything looks off. The goal is a clean, polished page that’s ready to share.
From there, the file is exported as a PNG or JPG and sent to our site manager. If the page is also going to be used inside our online coloring app, we export an SVG version as well, since SVGs scale nicely and work better with the app’s fill tools.
The site manager then works with the research team to write a title and short description for each page. This helps visitors find what they want through search, and it gives a bit of context about what’s on the page.
For printable pages, the file is uploaded to the site, where our built-in tool turns it into a high-quality PDF that’s ready to download and print at home, at school, or wherever else it’ll be colored. For online pages, the SVG is added straight to the database that powers our online coloring app.
Why We Work This Way
Every step in this process points at the same thing: coloring pages that are fun to color, easy to print, and safe for kids of all ages. By keeping a small, steady team, sticking to a clear style guide, and putting an extra set of trained eyes on every file before it goes live, we can keep adding fresh pages without letting quality slip.
If you ever have a topic you’d love to see on SketchJoy, our request form is the quickest way to tell us. There’s a good chance it’ll end up on the site soon after.